A useful tool kit is a collection of answers to jobs you actually do. It might live in a kitchen drawer, travel in a small case or fill a garage cabinet. Its value comes from having the right tool in a size you can identify, with enough room to use it properly. A large assortment helps only when its contents match those needs.
Before buying, write down three recent jobs and one project you expect to tackle next. Think about the fasteners you encountered, the space around them and the tools you borrowed. Those details make a better shopping list than a target piece count. This guide takes you from that list to a kit that is easier to choose, arrange and maintain.
Start with your real jobs
Separate your work into a few practical groups. Furniture assembly often calls for screwdrivers and hex keys. General garage work can involve sockets, wrenches and a way to keep removed fasteners together. Woodworking may introduce clamps and compatible cutting accessories. Small parts storage becomes useful across all of them, especially when an unfinished job has to leave the main bench clear.
Look at the instructions for the equipment or furniture you work on. Note the specified fastener sizes, head types and any required specialist tools. A general tool set cannot replace a torque wrench when a procedure specifies a tightening torque, and a convenient assortment does not establish suitability for electrical work. Keep those requirements on a separate list so they do not disappear among everyday purchases.
Then consider where the tools will live. A portable case favors a compact selection that stays together. A shared bench benefits from clear labels and visible gaps when a tool is missing. A drawer needs organizers that fit its actual depth and height. Measure the space before choosing a storage system, and leave room for the tool you will naturally reach for first.
Your first kit can be modest. Buy for recurring work, then fill a specific gap when a new task calls for it. That approach gives every addition a purpose and makes duplicates easier to spot.
Read the three different sizes
Socket descriptions commonly contain three different kinds of information: the square drive, the fastener size and the socket length. They answer different questions. The square drive connects the socket to a compatible handle or adapter. The fastener size describes the working opening. Standard or deep describes the socket form and the reach it offers. Read all three before comparing two sets.
For example, a 1/4-inch drive socket can have a metric opening. The fraction describes its connection to the handle; it does not mean the socket fits a quarter-inch fastener. Equally, a set with metric sizes may need a handle that uses an inch-designated square drive. Keep those labels separate on your shopping list.
| Label | What it tells you | What to check |
|---|---|---|
| Drive size | The connection to a handle or adapter | Compatibility with the tool you already own |
| Fastener size | The working opening | The exact specified SAE or metric size |
| Standard or deep | The socket’s form and reach | Stud clearance and room around the fastener |
| Impact designation | The intended application stated for the socket | Compatibility stated by both tool manufacturers |
SAE and metric openings can look close while still fitting differently. Use the correct specified system and size; a near match is a reason to check again. Inspect markings in good light and confirm that the tool seats correctly before applying force. If access prevents a clear view, improve the view first instead of choosing by appearance alone.
For a mixed household or garage, both systems may be useful. For a kit dedicated to one piece of equipment, a smaller, correctly specified range can be a more practical starting point.
Compare contents, not just totals
A piece count includes whatever the manufacturer counts as a piece. That can mean working sockets, bit sockets, extensions, adapters, handles or other accessories. Two assortments with similar totals can therefore solve different problems. Start with the list of usable sizes and tools, then look at the total as a quick description of the package.
Check the exact selected version. A product family can contain several set sizes, drive sizes or storage options. A photograph of one variant does not prove what comes with another. Read the selected product’s specifications alongside its photographs, especially when you need a particular size for an immediate job. If the information is inconsistent, resolve that point before ordering.
Make a short comparison list with four columns: sizes you need, sizes included, useful accessories and storage supplied. Put missing essentials near the top. A case full of additional sizes will not make up for the one opening your equipment requires. Likewise, an adapter may be convenient but does not automatically establish that a combination is suitable for a powered tool.
Consider duplication deliberately. A second screwdriver might be useful in another room, while a second large socket set may add little. A compact specialty assortment can complement an existing kit more effectively than replacing everything. Keep an inventory of what you already own, including drive sizes, so you can choose additions without relying on memory.
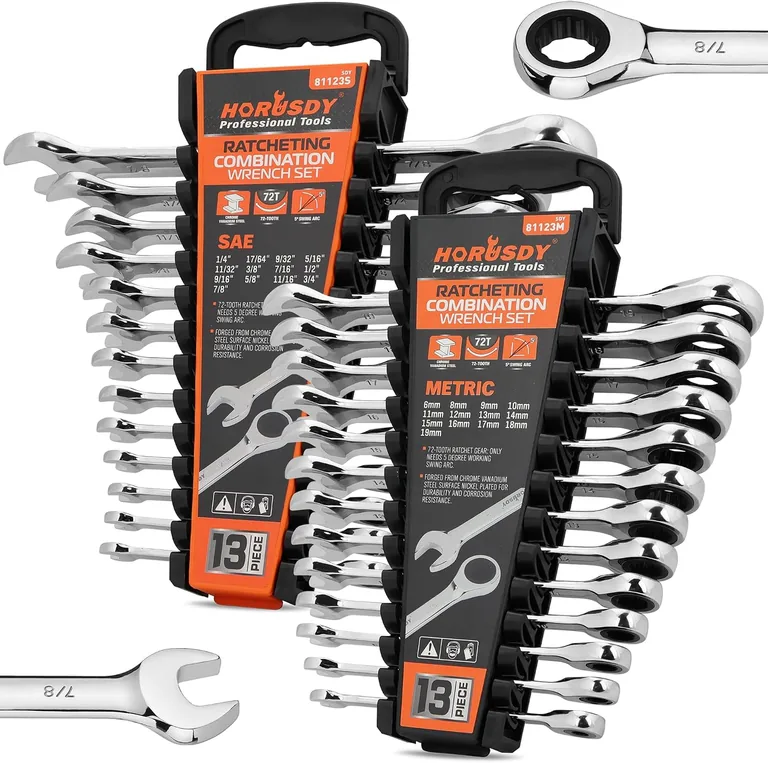
26-Piece Ratcheting Wrench Set
13 SAE + 13 metric · 72-tooth · Two racks
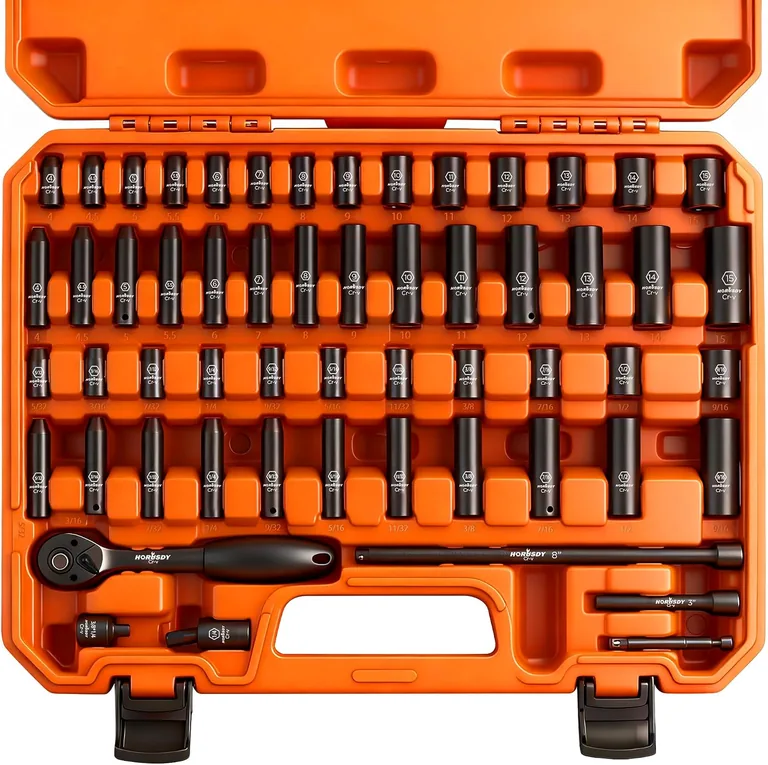
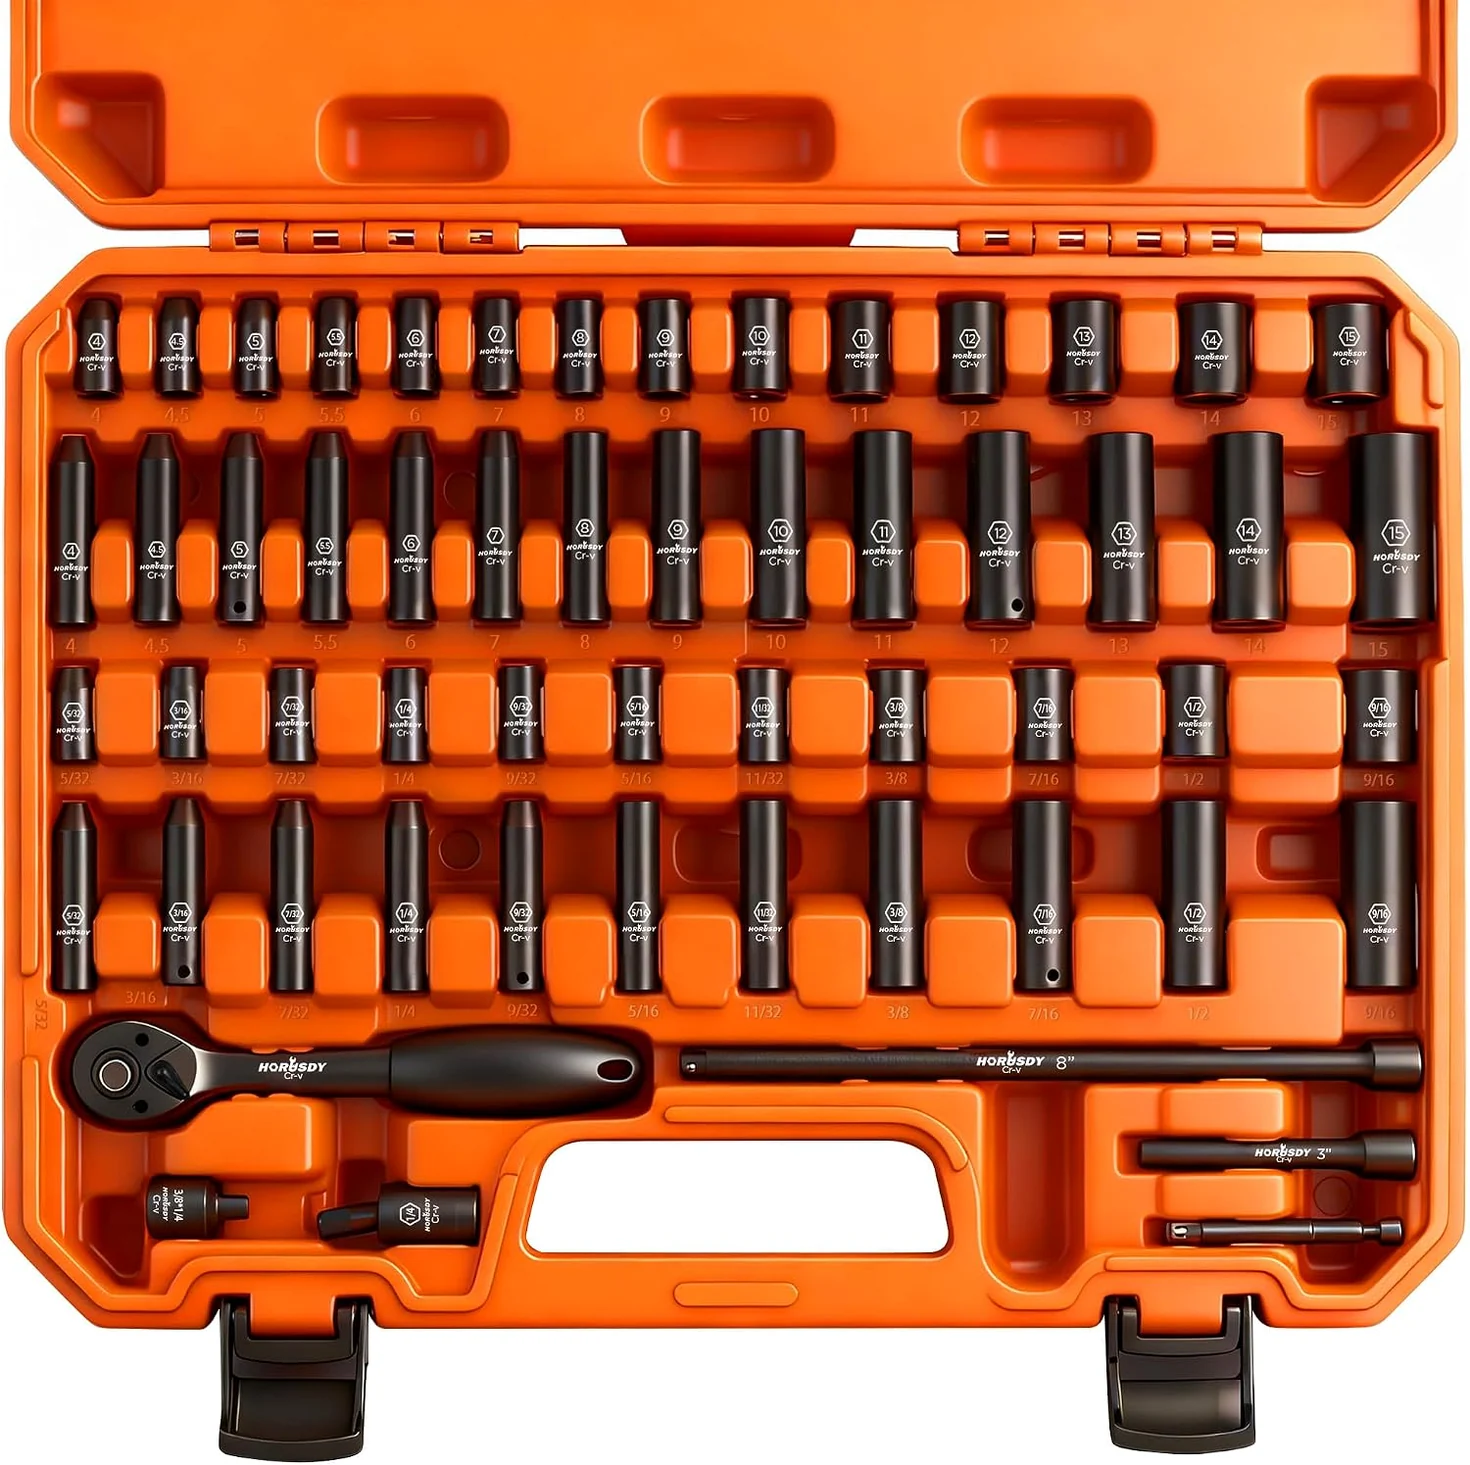
56-Piece 1/4-Inch Drive Impact Socket Set
SAE & metric · Deep & shallow · 6-point
Plan for access around the fastener
The opening size is only part of fit. A tool also needs room to approach the fastener and move through its working arc. Think about nearby panels, neighboring fasteners, projecting studs and the position of your hand. The tool that works on an open bench may be awkward inside a narrow enclosure.
A standard socket and a deep socket serve different access needs. A deeper form can help with a projecting stud or a recessed fastener, but extra length also takes up space behind the handle. Check the actual clearance in the intended job. Do not assume that the longest version is always the most useful.
Combination wrenches offer different working ends on the same tool. A ratcheting box end can reduce how often you lift and reposition the wrench, provided there is enough room and the end can seat properly. Its convenience still depends on the fastener, the available swing and the manufacturer’s intended use. Check tool dimensions if access is tight.
Try to describe the obstacle before buying around it: too little swing, a long stud, a recessed head or no room behind the handle. That description leads to a more useful comparison than simply asking for a larger set. Where a procedure calls for a specific tool or method, follow that requirement instead of improvising a combination to reach the fastener.
Match the driver to the head
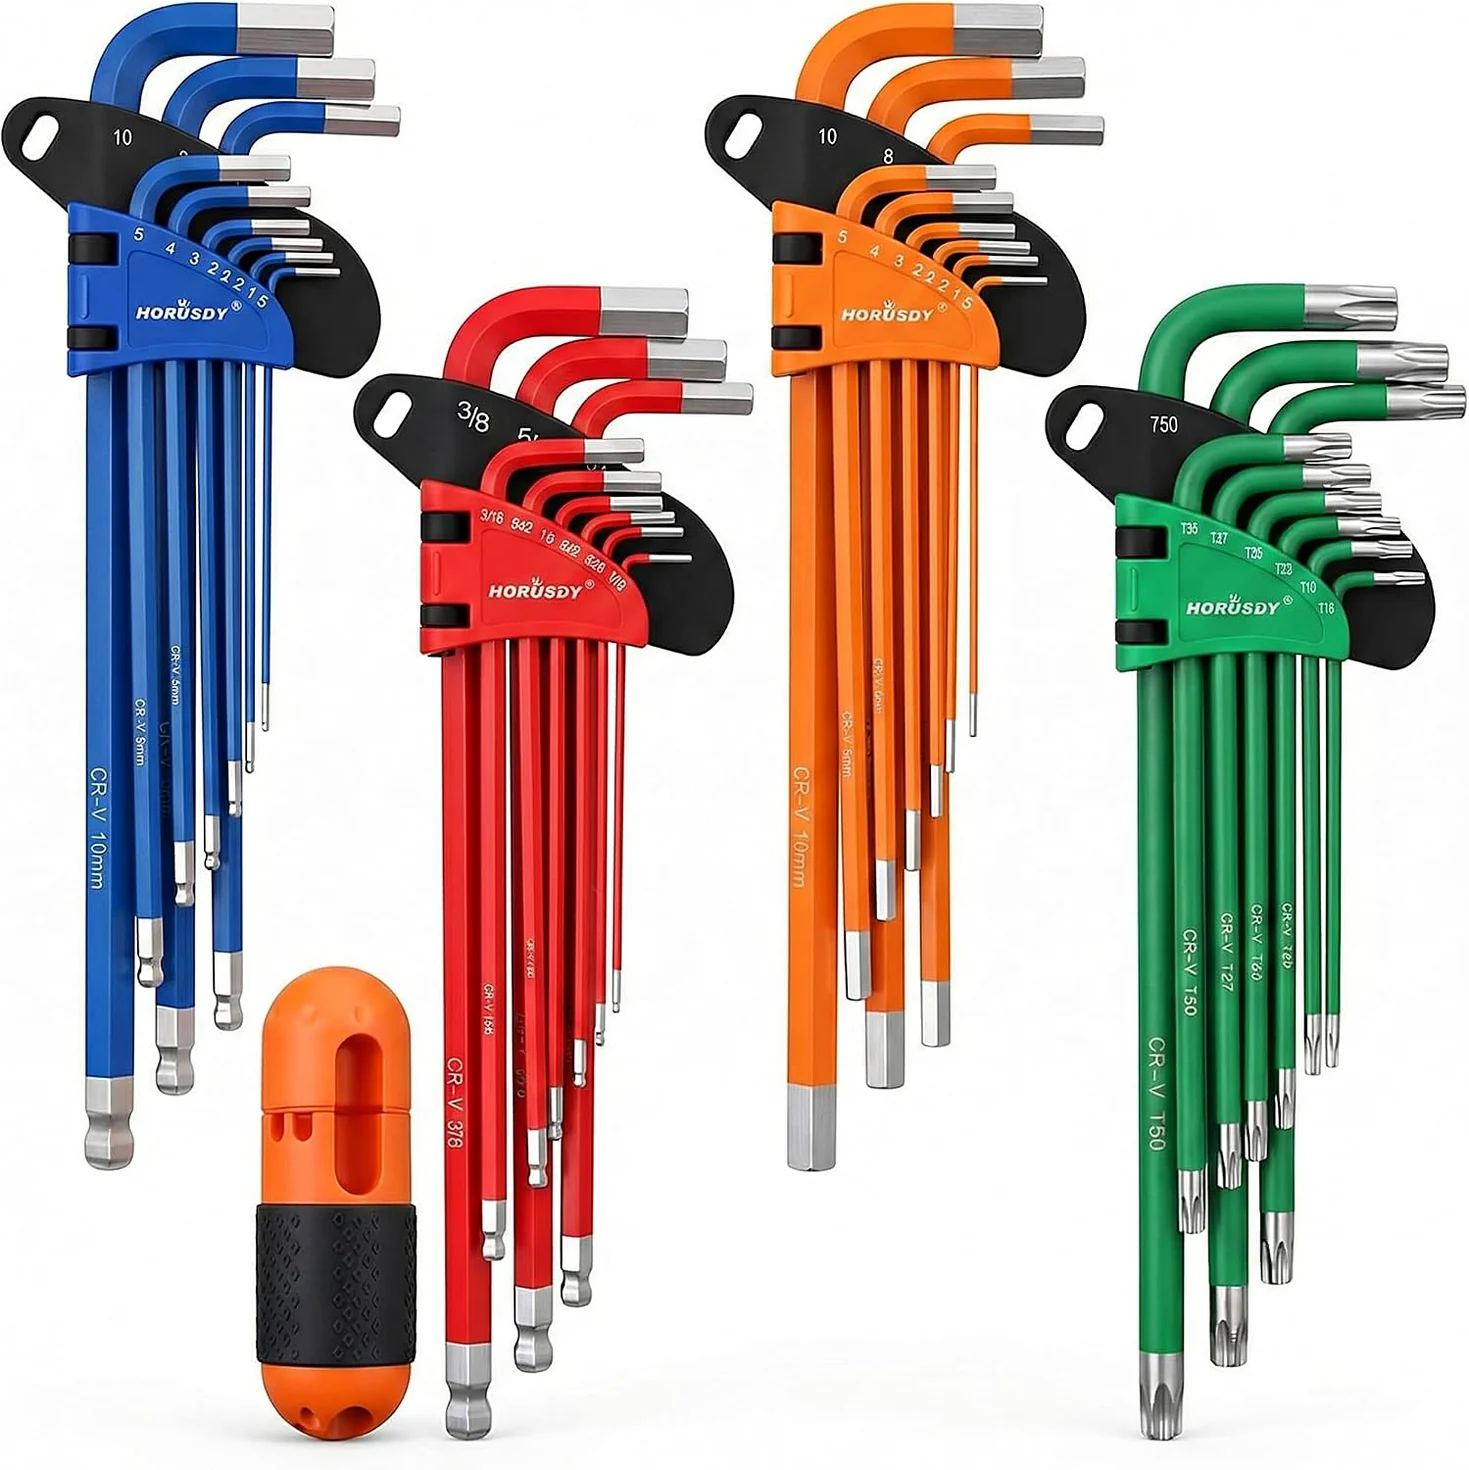
Screwdrivers, hex keys, nut drivers and star bits can share a drawer while doing distinct jobs. A Phillips tip is different from a slotted tip; a hex recess is different from a six-point star recess. A security profile may add another feature that a conventional bit cannot accommodate. Identify both the profile and its size before choosing a tool.
Good labeling helps here. Store similar-looking bits in marked positions and read the marking before use. A tip that appears to enter a recess may still be the wrong size. Inspect the fastener and tool for wear, clean away loose debris when appropriate and seat the matching tip according to the equipment instructions. Stop and reassess if the fit is uncertain.
Handle length, shaft length and approach angle matter too. A compact screwdriver can be convenient in a shallow space, while a longer shaft may improve access to a recessed head. Neither replaces the other in every situation. Ball-end hex keys also have application limits; use them only as directed and do not assume every end is intended for the same load.
A starter selection should cover the heads you regularly encounter. Add security profiles or less common sizes for a known need. Keep those additions in a labeled holder so the distinction remains obvious the next time you open the drawer.
Choose clamps around the workpiece
For clamping, begin with the shape of the work and the operation you need to perform. Temporary positioning, assembly and holding a protective sheet are different tasks. A light spring clamp and a bar clamp have different forms and capacities. Choose according to the product’s stated limits and the method specified for your project.
Opening capacity tells you whether the jaws can span the workpiece. Throat depth describes how far they can reach in from an edge. Overall length alone does not answer either question. Check these dimensions in the selected product details, and account for any pads or protective material you plan to use between the jaw and the surface.
Think about the surface as well. Finished wood, sheet material and irregular shapes may need different support and protection. A padded jaw can be useful, but the pad’s presence does not guarantee that a finish cannot mark. Follow the finish and clamp instructions, and test an appropriate setup on spare material when the project permits.
Storage can influence the practical choice. Spring clamps are easy to gather in a bin; bar clamps need a position that supports their shape without blocking other tools. Before buying several, decide where they will go and how many you need for the work you actually perform. A planned place makes it easier to notice a damaged or missing clamp.
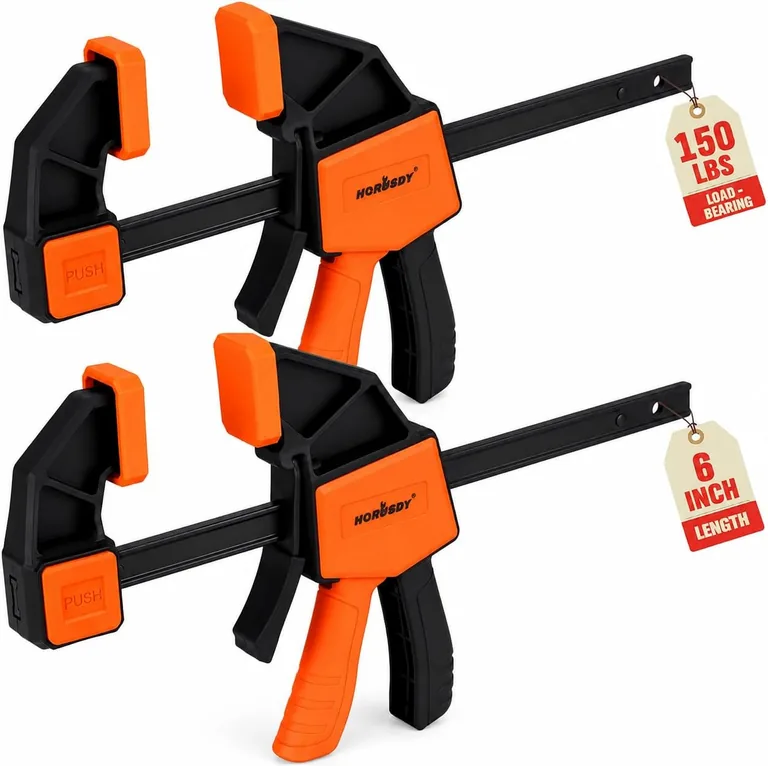
2-Pack 6-Inch Quick-Grip Bar Clamps
Clamp & spreader · 150 lb stated limit
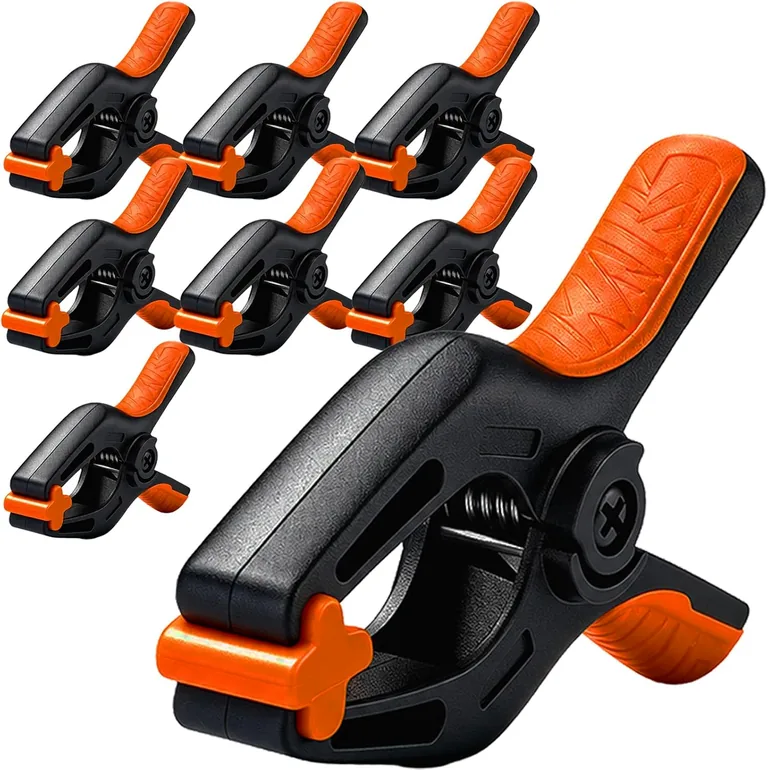
8-Pack 5-Inch Spring Clamps
2-3/8 in. jaw opening · Pivoting pads
Treat cutting accessories as a separate choice
A blade assortment is useful only when it matches the saw, the material and the intended cut. Check the saw manufacturer’s compatibility requirements first. Then compare the blade’s stated application, length and tooth pattern with the material you plan to cut. A large selection is a way to cover different jobs, not a reason to use any blade on any material.
Keep the original markings or packaging with unfamiliar blades. Descriptions such as wood, metal or general purpose help organize the assortment, but the detailed instructions govern the actual application. Material thickness, embedded fasteners and access can change what is appropriate. Identify those conditions before choosing from the case.
Inspect a blade before use and follow the saw’s instructions for installation, securing the work and protective equipment. Disconnect or isolate equipment as its manufacturer directs before changing accessories. This guide is about choosing and arranging tools; it does not replace the operating instructions for a powered saw or the safety requirements of a particular job.
Store sharp accessories so their edges do not contact loose hand tools or reach unprotected fingers. Separate damaged items from usable stock and replace them appropriately. A small, clearly identified selection in good condition is easier to choose from than a mixed box where the markings and condition are difficult to see.
Give parts and tools different homes
Tools benefit from repeatable positions. Parts benefit from separation and labels. Treating those as two storage problems makes the bench easier to organize. A socket rail can show a missing size immediately, while a compartment or bin can group the fasteners for one assembly. Neither needs to perform the other’s job.
Start by clearing a useful work area, then place frequently used tools within convenient reach. Put occasional tools farther away without burying their labels. Measure the drawer or shelf and check how much room a loaded organizer needs. Socket height, the handle of a tray and the opening path of a drawer all matter once tools are installed.
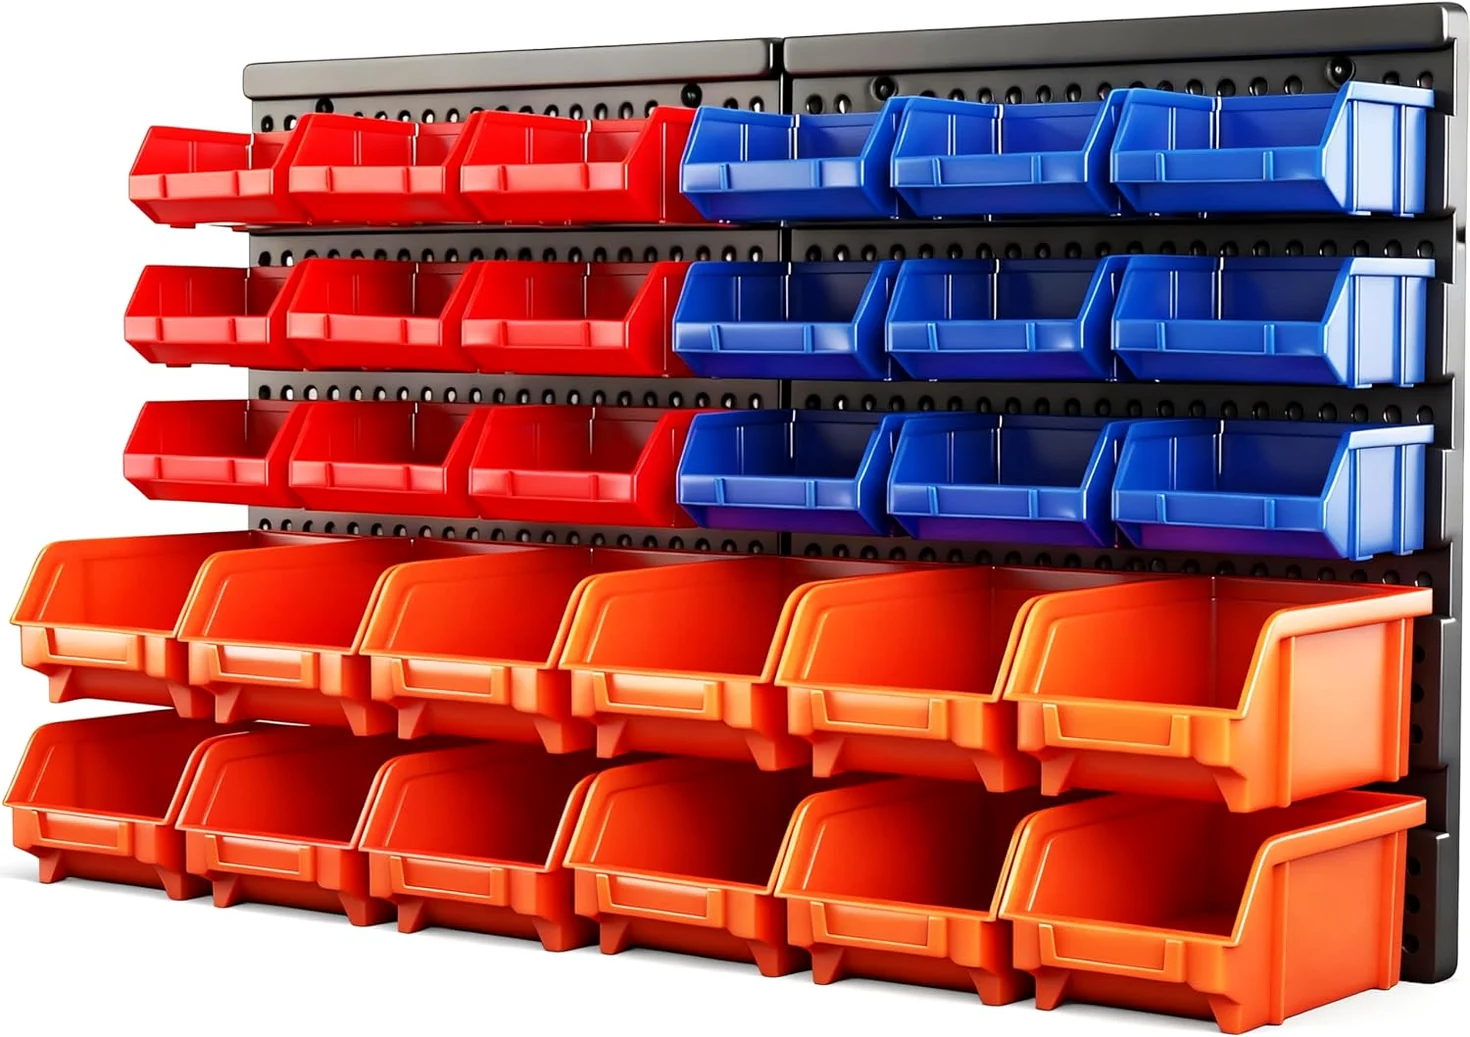
For wall-mounted bins, check the mounting surface, hardware requirements and stated load information. Decide what each bin will hold before filling it. Labels such as machine screws, wall anchors or furniture fittings are often more useful than a color alone. Avoid mixing unidentified fasteners that look similar but may differ in thread or length.
A magnetic tray can hold compatible loose metal parts during a job, but it is not universal storage for every material or environment. Check the product’s instructions and the surface on which it will sit. When work pauses, transfer parts into an appropriate labeled container so a temporary holding spot does not become a permanent mystery pile.
Add small helpers for specific problems
Some of the most useful additions do not turn a fastener. A pickup tool can help retrieve a compatible dropped object; an inspection mirror can improve the view into an awkward space. Their usefulness depends on reach, line of sight, the object’s material and the available access. Choose them for a problem you can describe.
Read each accessory’s limits independently. A magnetic tip does not pick up every metal or every shape, and a light does not make a hidden area safe to reach into. Inspect the situation first and follow the equipment’s shutdown or isolation instructions where relevant. A retrieval tool is a convenience, not a substitute for a safe work setup.
Bungee cords also need a clearly defined task. Compare the actual lengths and end fittings supplied, and follow their instructions for use and inspection. Do not treat an elastic cord as a substitute for rated cargo restraint or use an improvised arrangement when a specific securing method is required. Keep damaged cords separate from usable ones.
Fluid-transfer tools deserve their own compatibility check. Confirm that the selected pump is intended for the particular liquid, container and conditions, and follow its instructions. Similar-looking liquids or containers can have different requirements. Store the pump appropriately after use and keep it separate from tools or materials that could be contaminated.
Make a final check before ordering
Open the product page for the exact item you intend to buy. Compare its name, photographs, dimensions and set contents with your list. Pay special attention to variations that share similar pictures: drive size, number of pieces, measurement system and included holder. A quick check here is easier than discovering the mismatch when the job is ready to begin.
The price shown in this catalog is a checked snapshot. The purchase button opens the selected item in a new tab, where you can review the current offer. Confirm the selected option again there, along with availability, delivery and the total shown before placing an order. An earlier price does not guarantee the later transaction total.
Keep your comparison focused on the useful contents. A lower price can be attractive, but a missing required size may create another purchase. Conversely, an extensive assortment may include tools you already have. Compare the whole choice: the tasks covered, accessories supplied, storage needed and the space the set will occupy.
If a key specification remains unclear, seek clarification through the available product or order support channel before purchasing. Save the selected item information and order details afterward. They make it easier to identify the correct product when you need instructions, help with an order or a compatible addition later.
Keep the kit ready for the next job
Put a small inspection step into your cleanup routine. Check for damaged tips, worn openings, cracked handles, loose parts or other visible problems. Follow the tool manufacturer’s care instructions and remove damaged items from use. Wiping and arranging the tools is also an opportunity to notice a problem before it interrupts the next task.
Return each tool to its assigned place. Separate SAE and metric groups in a way you can understand at a glance, and preserve size labels where possible. For shared kits, a simple drawer map or clearly marked holder helps everyone return the tool to the same position. Empty positions then become useful information rather than unused space.
Review the kit after a few real projects. Note what you used repeatedly, what stayed untouched and what you had to borrow. This is the right moment to expand, reorganize or simplify. A specialty tool earns its place when it solves a recurring problem or is required for planned work, even if it is used less frequently.
The Canadian Centre for Occupational Health and Safety puts the selection principle plainly:
Use the right tool for the job.
Its
hand-tool ergonomics guidance
is a useful starting point alongside each product’s instructions. Build your kit around that
habit: identify the task, confirm the fit, use the tool as directed and return it ready for
next time.